FIXED-TRIPOd METHOD
ASTROPHOTOGRAPHY
- Last Updated On:
FIXED-TRIPOD METHOD
This is the most basic way of taking pictures, so simple a child could do it (see these pictures taken by a nine-year-old from rocketroberts.com) It involves pointing a camera at the sky and taking a picture, you don’t need a telescope. However as starlight is so faint, the film needs to be exposed to their light for quite a long time for them to show up. You will need, then:
- A (preferably manual SLR) camera that lets you leave the shutter open, that is, it has a “B” or “Bulb” mode (if you don’t have one, they can be picked up very cheap).
- A locking cable release so that you can leave the cameras shutter open.
- A tripod is extremely useful, but you can rest it anywhere if you don’t have one.
A manual camera is much preferred, because long exposures need to be taken. If the shutter is kept open by an electrical signal, as is the case on most new film SLR cameras, the battery drains very quickly on long exposures.
You can do it with a digital camera, if it lets you set the exposure manually and you can control the ISO setting (the higher the better), but the exposure tends to be limited to 30 seconds or so (as you start to get problems with the heat generated by the CCD introducing ‘noise’ into the picture for exposures any longer) so you can’t take ‘star trail’ pictures.
This is not to say of course that you can’t take good fixed-tripod images with a digital camera.
Because the film needs to be exposed for quite a long period of time, the Earth will have turned a significant amount over the course of the exposure- the stars appear to have moved- this causes a trail on the film (see picture below).
This is a problem is you want to take pictures of the sky as you see it (in which case, you need to use some sort of tracking which is much harder, see piggybacking). But for us beginners, some satisfying results can be acheived with a fixed camera.
The fixed camera method can produce one of two effects. Firstly, if you keep the exposure short enough, you can get pictures of constellations more or less as they are, stars coming out as points of light with no trails. Or if you leave it a very long time you can get some satisfying star trails:
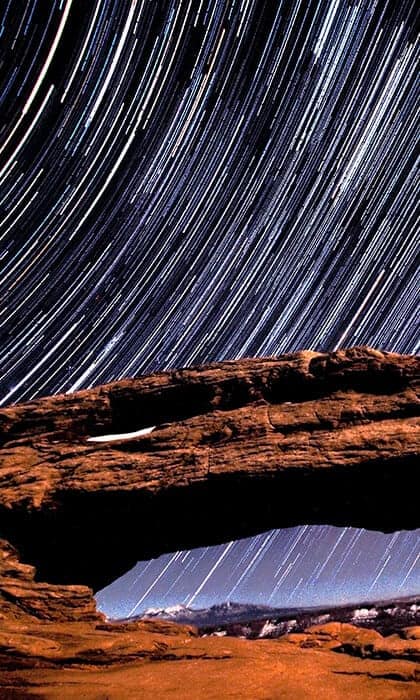
LONG EXPOSURE WITH TRAILS
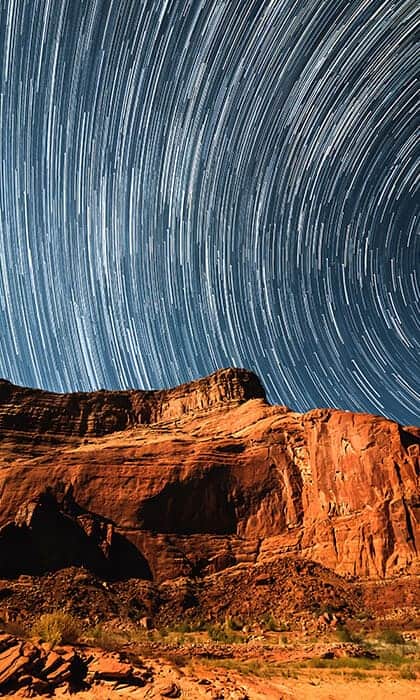
LONG EXPOSURE WITH TRAILS
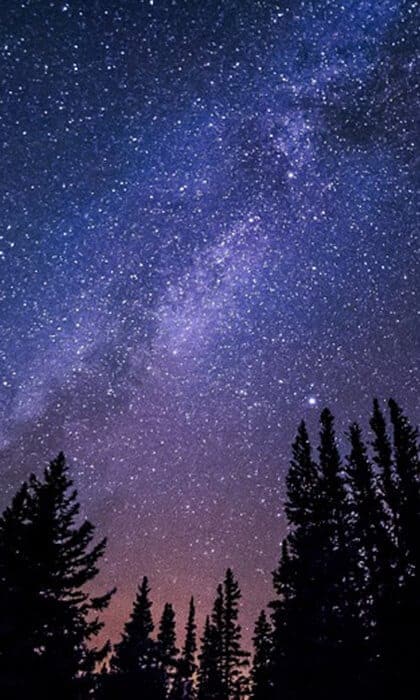
NO TRAILS
How long it takes for a trail to form on the film depends on the focal length of the lens (zoom), and the declination of the star. The closer it is to the pole the shorter trail it forms. The higher the focal length (more zoom) the longer the trail will be on the film. For the mathematically minded of you the length l of the trail on a 7×5 print from an exposure of length t seconds on a focal length f mm of a star of declination δ will be:
For the non-mathematically minded of you, I find that with a standard 50mm lens, you can take an exposure up to about 30 second without any trails. For most films this is long enough to expose bright stars in a constellation (like the picture above, taken for 30″ of about 35mm on ISO 400 film). On long focal lengths with telephoto lenses this is reduced to about 2 seconds before trailing occurs.
It’s best to stick to short length, wide angle lenses. As your exposure is limited by trailing, you need to let the film gather as much light as possible in that time. Open the aperture as much as possible and use as fast a film as possible (very light sensitive). The exposure above was acheived on 400 speed film, but a 1000 or 1600 speed film, although grainier, will capture much more lights, meaning dimmer stars come out on film.
WITH TRAILS
Trailing is not always a problem though; some great pictures can be taken of star trails. The Earth turns at a rate of 360° per day so thats 15° per hour.
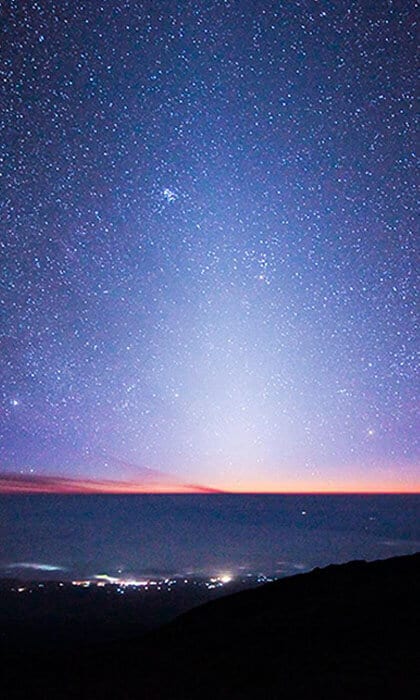
The stars on the film appear to trail at this rate. If you want star trails, the longer the exposure, the better they look- about an hour looks very good, if you can manage longer, even better. However there are still limitations on the exposure- light pollution. These two pictures were taken over about 30-40mins, one at my house another at my grans who lives out in the country:
LIGHT POLLUTION IN TOWN
OUT IN THE COUNTRY
So limit your exposures if you live in town, or take your camera if you can get out into the country. Unfortunately there’s not much else you can do about it.
Where do you point your camera to take a star trail? It helps to have some knowledge of how the stars move. You can produce two main effects, by looking East or West or away from the celestial pole, the stars move more or less parallel to each other and the effect is almost like rain. If you point it at the celestial pole the you get concentric circles around the pole (polaris in the Northern Hemisphere).
Whichever you try to do, you need a cable release so that you can lock the shutter open and leave it, rather than having to kep your finger on the button which would introduce terrible vibrations on the camera (and be very boring!). Again a tripod is useful as it means you can easily point the camera at any part of the sky, but you can rest it on anything.
Keep experimenting with different arrangements- trails often look good with a ground object in the foreground of the picture, reinforcing the fact that it’s the stars moving, not the camera.
LINKS
- Cameras for Astrophotography
A buying guide for the best cameras for Astrophotography. - Best Telescopes for Astrophotography
A buying guide for the best telescopes for Astrophotography. - Best Computerized Telescopes
A buying guide for telescopes with automatic tracking. - Dan Heller
Just to illustrate what can be done with this method, some absolutely incredible star trails can be found on photographer Dan Heller’s Website. - Your Images- Guest gallery
Taken any good star trails? You can display them on my site in the gallery.
After you’ve taken a few star trails and have the feel for it, you may want to get a bit more adventurous and try to track the stars so that they are exposed as points…
SUBSCRIBE TO OUR WEEKLY NEWSLETTER